 Jean Repair Tutorial
What do YOU do when your favorite pair
of Jeans develops a thin patch or hole?
Throw them in the junk pile?
Or try to restore them?
 |
| Hole worn on the inner thigh area |
 |
| This is what the hole looked like when the jeans were turned inside out. |
 |
| What you need to repair this hole: A piece of Heat n Bond Light large enough to cover the hole and thin area of fabric and a scrap of jean fabric that closely matches the color of your jeans. |
 |
| Take the inside out jeans over to the ironing board and lay as flat as you can manage smoothing out the fabric underneath to be flat as well. |
 |
| With your fingers pull the loose fibers taunt Look at the photo above to see how the fibers naturally fall See the difference? |
 |
| Cover the area with your piece of Heat n Bond (while keeping the fibers pulled taunt) Lightly iron in place |
 |
| Remove paper revealing the shiny adhesive left behind |
 |
| Cover with jean scrap (right side down) and iron in place |
 |
| This is what the right side of the jeans looks like now. Compare to the 1st picture and you can see the difference! So what we have done so far is to iron a patch on the inside of the jeans. |
Next we are going to sew that patch into place and to add some more
thread to the hole area.
 |
| Next find a thread that closely matches the fibers in your jeans |
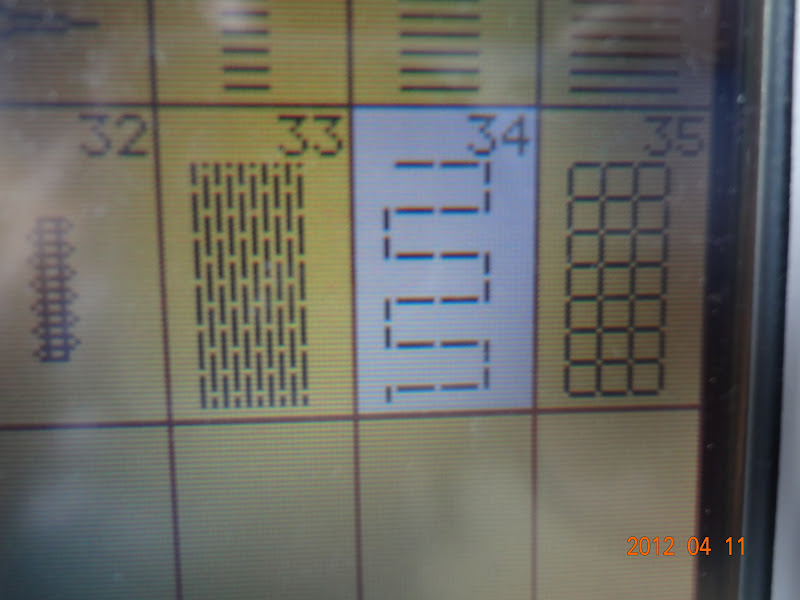 |
| The 3 stitches shown above are all mending stitches In this case I used #34 to repair the threads that are missing |
 |
| Position your applique foot so you will be sewing your stitches following the "grain" lines of your jeans. |
 |
| 1/2 of this is mended Can you see the difference? As you look at the picture the part on the left has been stitched. |
 |
| Here is the completed mending job from the right side |
 |
| This is what the back of the inside looks like. You can see that I just keep stitching down in a row until all of the patched area is secured with thread. I sew down, stop, secure thread, break thread then go back up to the top and repeat. I used white thread in the bobbin....the inside doesn't show and in this case I wanted to be able to photograph it. |
 |
| Okay! One side complete! It just so happened that there was a hole on BOTH sides of the inner thigh area. (Wonder how that happened?) So you can clearly see the difference between the holey side and the mended side! |
So there you have it..........Pretty cool, right?...........
Now go find some jeans to mend!
tammy
Wow! What an amazing post and great job mending those cute jeans! You must have spent hours doing both! :) And you sure have one lucky daughter!
ReplyDeleteWhat a sweet comment. It actually took me longer to write the post than it did to mend the jeans.
DeleteJust goes to show you that practice makes things easier!
Hey there, Thanks for writing this very useful post. Between me and my daugher, we probably have more than a handuful of jeans to mend. What a great money saving idea.
ReplyDelete-Debbie
Personally I HATE to mend, but it is a skill that has come in handy over the years.
DeleteEspecially with the kids! The jeans in post were my daughter's FAVORITE jeans so I obliged by mending them.
That's amazing! I've got to learn to sew. Right now my poor husband is walking around with his pants dragging on the ground. I can't even make a hem. LOL
ReplyDeleteDana, right next to mending in the sewing tasks that I don't enjoy is HEMMING!
DeleteHere's a couple of hemming tricks...........1. You can buy a fusible hem tape and just iron the hem up. or (I probably shouldn't tell you this) 2. Get out the stapler and just turn the hem up and staple! or 3. I've been known to let my jeans drag the ground too!
Thanks for visiting!