OR
How to decide how to quilt a quilt top.
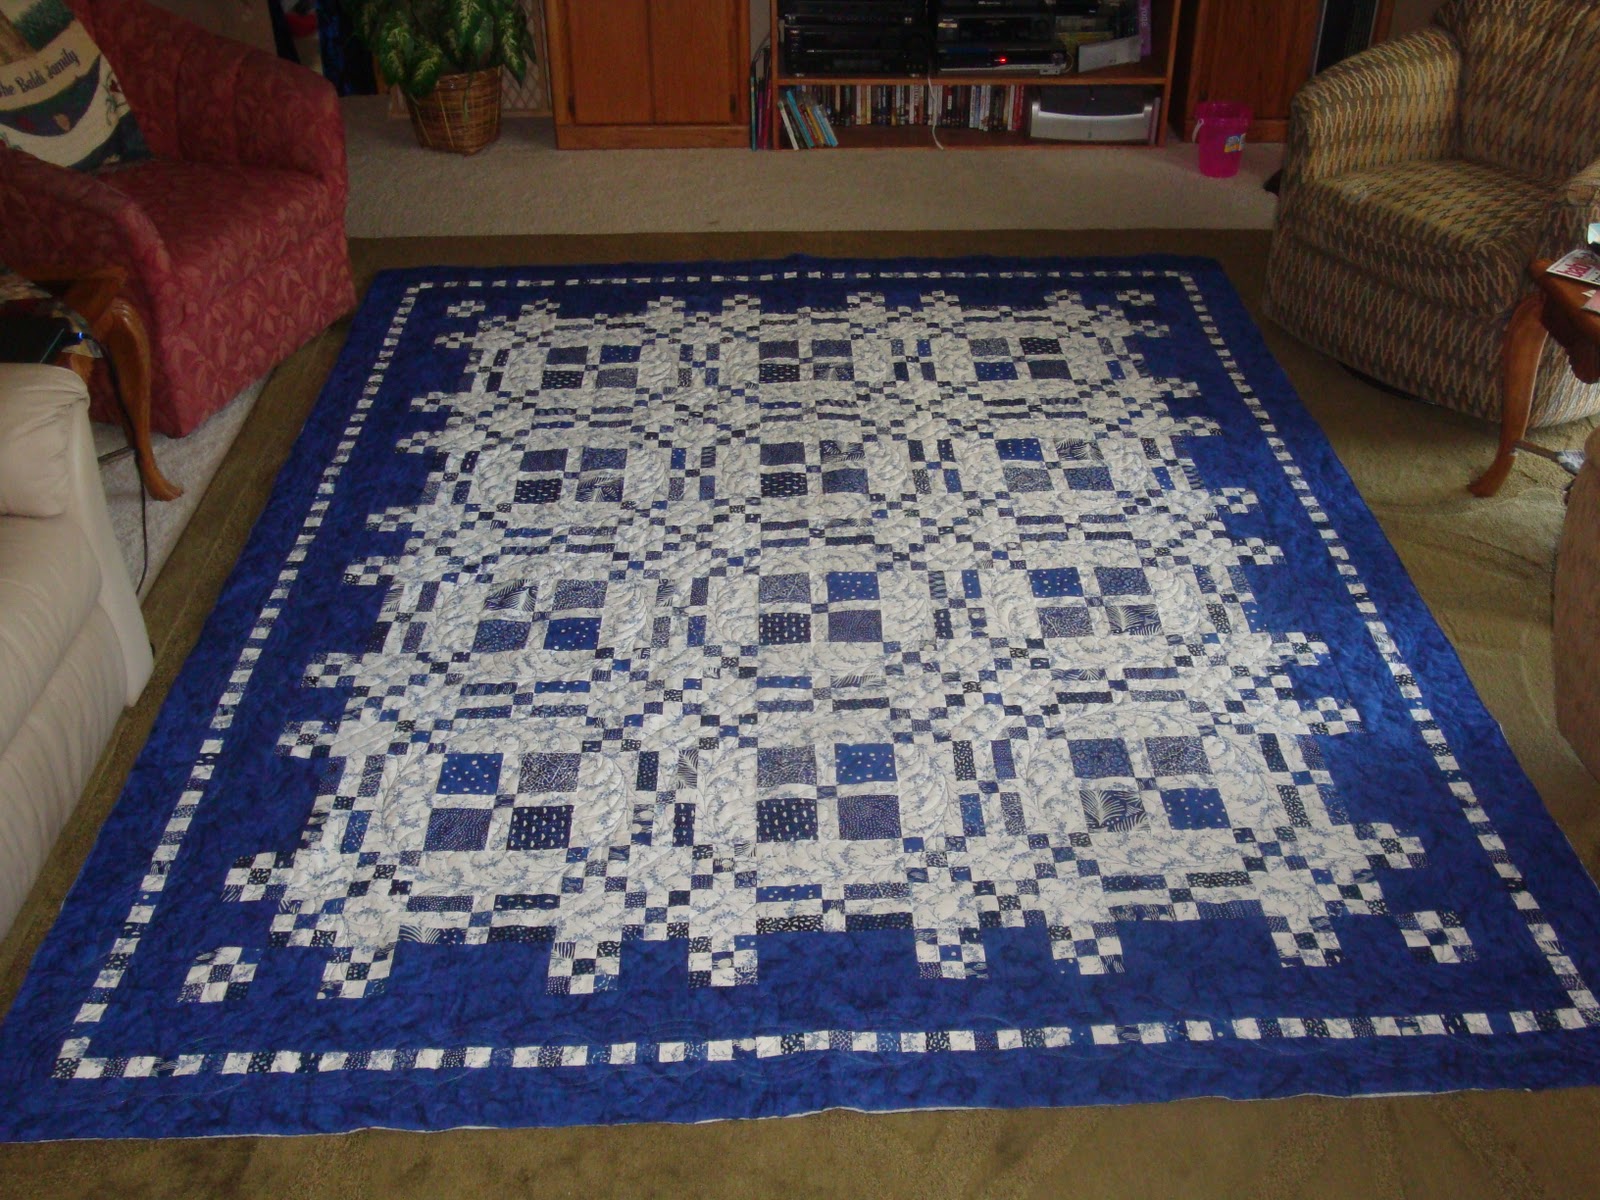
Recently I finished the quilting on this lovely blue and white quilt.
Deciding how to quilt this quilt made my little brain hurt!
When you look at this quilt with your naked eye you do not
see the circles that the quilt pattern creates.
However thru the camera eye (or the picture that you see above)
you can clearly see the circle pattern.
So one of the things that I wanted to accomplish with thread
was to enhance the circles.
So here is how I started the quilt design process:

First I measured the circle

and made a paper pattern with that measurement.
Then I used my secret weapon....my most used design tool.

I have a piece of heavy plastic that I have edged with blue painters tape.
(I added the painters tape to clearly
mark the edge of the plastic you will see why soon)
I placed the paper circle pattern under the plastic
and on top of the area I want to design topped it with the heavy plastic
and using a wet erase marker I draw
the circle pattern on top of the plastic.
**Important**
Use the utmost care when using a marker around a quilt top!
The reason for the blue tape is to CLEARLY mark the edge of plastic.
You don't want any stray marks on the quilt top that could be permanent.

So now that I have the area I want to design clearly marked
I can pick up the wet erase marker and start drawing right on
top of the plastic protected quilt top.

With the plastic in place I can draw until I am happy with the design,
both in the circle area and also the design in the in between areas.

Then I can remove the plastic and place it where I can see it
while I am quilting the top on the longarm.
Unfortunately with this quilt I STILL couldn't decide on the quilting pattern,
so I had to move on to my next little design tool.
As you may have noticed my little plastic does not cover the entire quilt top.
It is great to use for small areas or to use for block design, but not so
great to use for the overall design of the quilt including the
outside border and any area that is in between the blocks.
I put the quilt up on my design wall.
In this case I folded this large quilt in 1/2,
but I still got the main part and borders.
I photograph the quilt, upload it to my computer,
set my printer to print a low quality, low ink
black and white image of the quilt.
This gives me a look at the pattern of the quilt only and not the color.

Next I slip the copy of the image into a plastic page protector
and get out my handy dandy wet erase marker and
start designing.
This is a great tool since I can see the whole quilt
and how all the quilting elements will work together.
Plus, it provides me with a map on how the top needs to be quilted.
So there you have it......my quilt design secrets.
Now get on out there and do some quilting!
Piece out,
tammy


